
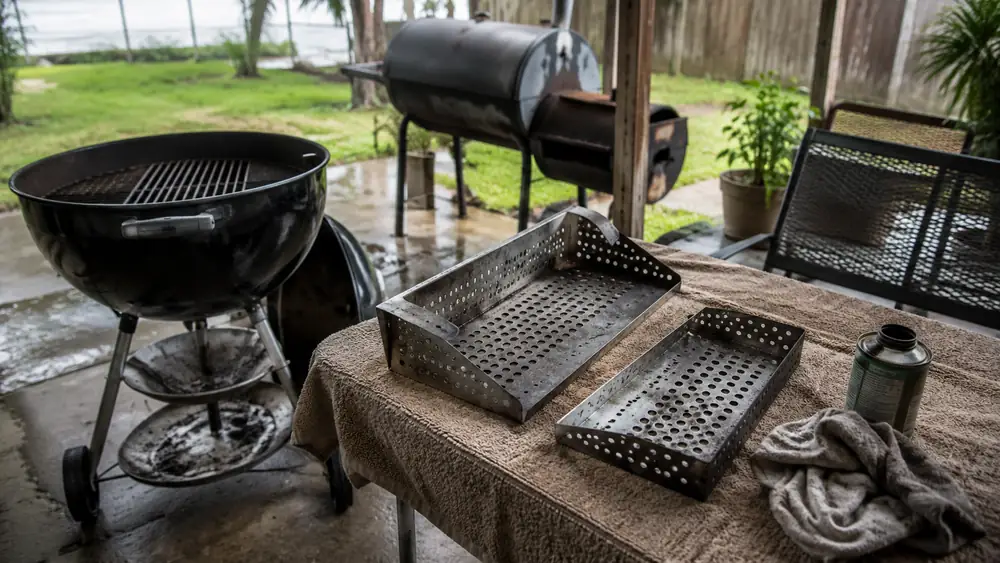
If you've read other reviews of the Slow 'N Sear before this one, you've probably noticed they all say roughly the same three things: two-zone cooking, steady temperatures, stainless steel that lasts. All true. None of it tells you what actually happens the first time you pull this basket insert out of the box and try to run it without reading a single instruction, which is exactly what I did on my 22-inch kettle here in Corpus Christi, and it did not go the way the five-star reviews had led me to believe it would.
I've had three years and somewhere north of 150 cooks with this thing since then, and I already wrote up the long-term version of that story elsewhere on this site. This piece is different on purpose. This is the review I wish someone had written for me before I bought it, the one that talks about the learning curve, the mistakes I made, the parts nobody photographs for the listing, and honestly, who ends up boxing this back up and sending it to Amazon returns.
The Quick Verdict
It's a genuinely good piece of gear once you know how to run it. It is not the plug-and-play fix the marketing photos suggest, and the first month with it humbled me more than once.
Amazon Check Today's Price →Before You Buy It, Read What the Five-Star Reviews Leave Out
The Slow 'N Sear works. It also has a real learning curve and a few maintenance headaches nobody mentions in the bullet points. See today's price and current availability on Amazon and read on for the honest side.
Amazon Check Today's Price on Amazon →How I've Actually Used It, Mistakes Included
I bought my Slow 'N Sear a little over three years ago after a bad windy overnight brisket cook finally wore me down, and it's lived in that kettle for the vast majority of my low and slow cooks since. That part of the story I've told before. What I haven't told is that my very first cook on it went sideways in a way that had nothing to do with wind and everything to do with me not understanding the tool in my hands.
I cranked both wing nuts down as tight as I could get them, the way you'd snug a bolt on a trailer hitch, because in my head tighter meant more secure. What it actually did was pinch the reservoir bracket enough to restrict airflow along one side of the basket. My fire choked itself down to almost nothing about ninety minutes in, and I spent a frustrating stretch on my knees with the lid off trying to figure out why a fresh load of lump wouldn't catch properly. Nobody warns you that snug is different from tight on this thing, and I learned it the hard way in front of a rack of ribs that ended up taking two extra hours.
Since then it's been through every kind of cook I run regularly around here, family meals most weekends and a pork shoulder now and then when Hollis has friends over, so this isn't a two-week test unit talking. But I'd argue the early mistakes matter more to a first-time buyer than cook number one hundred does, because those early ones are what decide whether you keep the thing or box it back up.
What the Product Photos Don't Show You
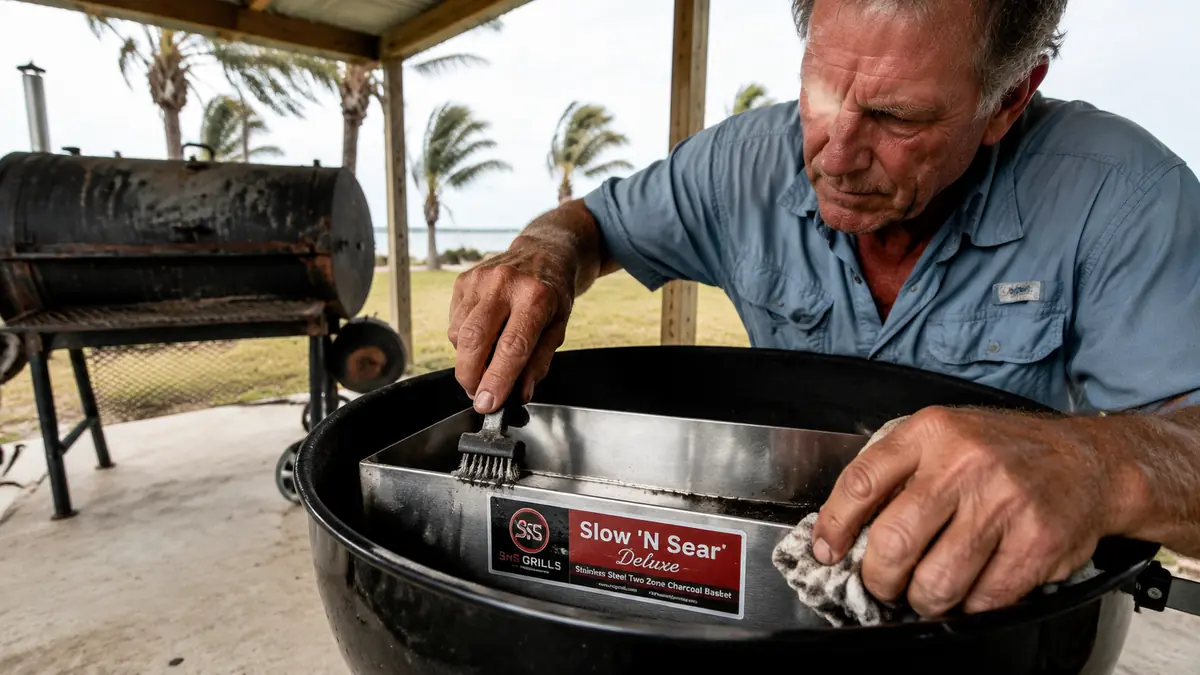
The Amazon listing photos show a clean stainless basket sitting neatly against the inside wall of a kettle, gleaming, no ash in sight. What they don't show is what happens after four or five cooks: fine ash and grease start packing into the narrow seam where the two curved panels meet, and that seam is genuinely awkward to get a brush into. I keep a narrow wire brush specifically for that gap now, because a standard grill brush is too wide to do anything but push the mess around instead of clearing it out.
Fitment is the other quiet issue nobody mentions. My kettle isn't brand new, the ash catcher legs have some wear on them after years of use, and the basket doesn't sit quite as flush against the bowl wall as it did the day I bought it. There was a small gap on one side for a while that let a thin line of smoke escape where I didn't expect it, until I figured out the basket had shifted slightly during a cleaning and just needed to be reseated properly. It's a five-second fix once you know to look for it, but the first time it happens you assume something is wrong with the basket itself.
I'll also say plainly that this is not a light piece of gear once it's loaded with charcoal and a full reservoir of water. Lifting it out of a hot kettle with the built-in finger tabs takes two hands and a little confidence, and I caught the inside of my wrist on the rim of the reservoir one evening pulling it out too fast. That's on me for rushing, but it's the kind of detail a glossy product photo will never show you.
The Mistakes That Actually Cost Me a Cook
Beyond the overtightened wing nuts, my second real mistake came from being too cautious with the water reservoir. I'd read somewhere that overfilling it could cause spillover onto the coals, so on an early cook I underfilled it by a good margin, trying to play it safe. Around hour six of a long pork butt, the reservoir ran dry, and without that heat sink my grate temperature climbed nearly forty degrees before I caught it on a thermometer check. The meat survived, but it wasn't the steady low and slow cook I'd been promised, and it was entirely a mistake on my part rather than a flaw in the design.
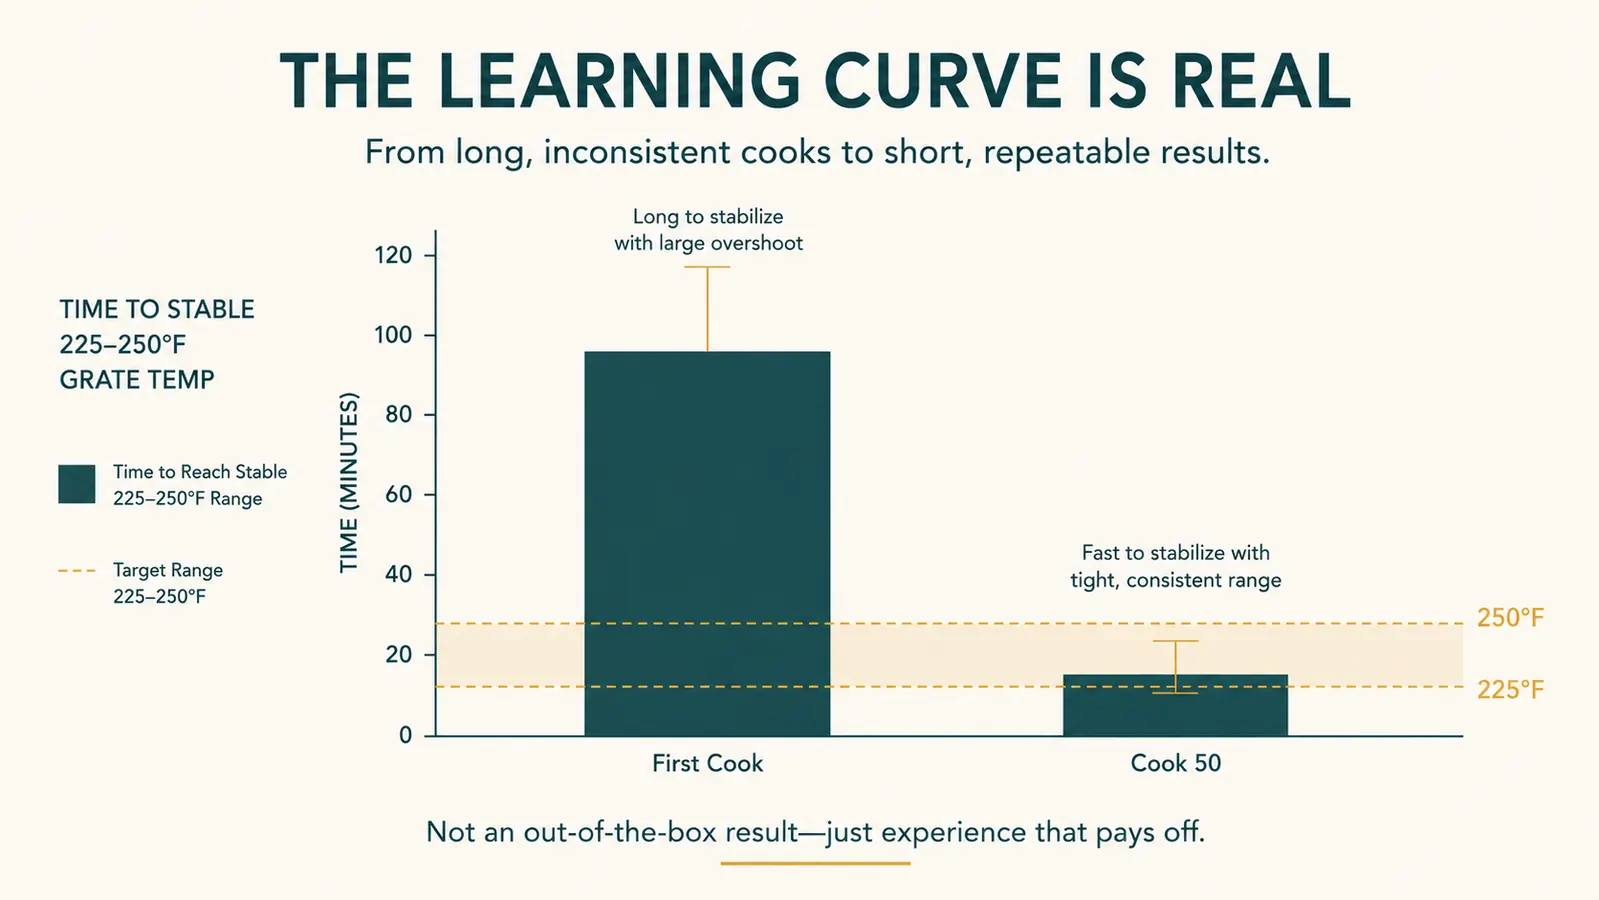
I also underestimated how much attention the fuel bed itself needs the first several times you run this basket. The Slow 'N Sear burns front to back along a bank of charcoal, and if you don't load it with a reasonably even, settled bed, the burn line gets patchy and your temperature swings more than it should. My first few cooks had noticeably rockier temperature graphs than the ones I run now, and the difference wasn't the equipment, it was me still learning to load it properly.
The last mistake, and probably the most avoidable one, was letting the basket sit in the kettle uncovered through a stretch of wet weather during my first fall owning it. Surface rust showed up on the reservoir screws faster than I expected for a piece of stainless hardware, and that's what finally got me into a routine I still follow: rinse it clean, let it dry completely, then set it in the plastic tote I keep in the garage instead of leaving it in the kettle between cooks. It's a small habit, but skipping it is exactly what let those screws rust in the first place.
Where It Genuinely Struggles
Even once you've got the technique down, there are real limits worth naming. Wind is still the biggest one for me on the Gulf Coast. The basket gives you a physical stainless barrier between your hot and cool zones, which helps enormously, but it does not turn off the bottom vent for you. On a gusty evening I'm still standing out there cracking the vent down and opening it back up by feel, the same as I would with any other setup. If you're picturing a fully hands-off cook because of what the marketing implies, that's not quite what you're getting.
The water reservoir, which I genuinely like for the heat sink effect and the mess it saves in the kettle bowl, has a real annoyance built into it. Topping it off mid-cook means lifting the entire cooking grate, disturbing whatever's on there and losing heat in the process. On a humid evening when evaporation runs faster than usual, that can mean doing it twice on a long overnight cook. There's a separate fill tube accessory SnS Grills sells to get around this, and I'd tell any new buyer to just budget for that add-on from day one instead of grumbling through a season like I did.
Humidity causes a second, quieter problem too. Charcoal left in a half-used bag out here clumps up in a way that makes it harder to load the basket evenly, and a clumpy load is part of why my early burn lines were so uneven. Switching to a sealed bin instead of the paper bag fixed most of it, but it's an extra purchase and an extra habit that a first-time buyer isn't expecting to need.
Who Actually Returns This and Why
Based on what I've seen in the reviews and heard from a couple of guys at Hollis's poker nights who tried it, the returns seem to fall into a few honest categories. The first is fitment mismatches, someone with an 18 or 26 inch kettle buying the 22 inch version, or a kettle with a lip design different enough that the basket doesn't seat cleanly. Measure your kettle before you order, not after.
The second category is people expecting this to fully automate their fire the way a pellet grill or a controller-driven smoker does. It doesn't. It makes wind and fuel management dramatically easier, but you're still tending a charcoal fire, checking vents, and reading a thermometer. If what you actually want is walk-away convenience, a basket insert on a kettle isn't the tool, no matter how good the two-zone design is.
The third group is occasional cooks, someone who fires up the grill three or four times a summer for burgers and hot dogs. If you're not regularly running cooks long enough to need real two-zone heat management, the added complexity and the extra cleaning step aren't worth it, and I'd tell that person honestly to save the money and stick with a simpler charcoal arrangement.

What I'd Do Differently If I Bought It Again
If I were starting over today, I'd hand-tighten the wing nuts and stop there, no tools involved. I'd fill the water reservoir generously rather than cautiously, since a little overflow is a far smaller problem than running dry mid-cook. I'd buy the fill tube accessory in the same order as the basket itself instead of putting up with lifting the grate for a full year first. And I'd have started the hose-dry-and-tote storage routine from week one instead of learning it from a set of rusty screws.
None of that changes my overall opinion of the Slow 'N Sear. It's still the piece of gear that fixed my worst fire-control problems, and if you want the fuller ownership story, including the family cooks it's been part of, I wrote that version up separately in my long-term Slow 'N Sear review. This piece exists so that whoever reads it next skips the first-month version of me kneeling in front of a dying fire wondering what I'd done wrong.
What I Liked
- Genuinely solves wind and fuel management once you understand the technique
- Water reservoir cuts down on kettle bowl cleanup dramatically
- Stainless build holds up far better than mild steel accessories if you maintain it
- Predictable burn line once loaded correctly, easy to estimate fuel hours left
Where It Falls Short
- Real learning curve in the first several cooks that the marketing doesn't prepare you for
- Ash packs into the seam between the two panels and needs a dedicated brush
- Topping off the reservoir mid-cook means lifting the grate unless you buy the fill tube separately
- Surface rust shows up fast on screws and welds if you skip the storage routine
- Not a hands-off fix, you still manage vents in real wind
The reviews that only tell you what went right aren't lying. They're just skipping the part where you learn how to use the thing, and that part is where most of the frustration actually lives.
Who This Is For
This basket insert is for someone who already cooks low and slow often enough to justify the learning curve, and who's willing to spend a few cooks getting the technique right before judging the results. If you host regularly, like I do most Sundays for Kara, Beto, and the grandkids, or run enough smoke sessions to make the maintenance routine worthwhile, the payoff is real once you get past the first month.
Who Should Skip It
If you're an occasional weekend griller who mostly does quick direct-heat cooks, or if you're hoping for something that requires zero fire-tending once it's lit, I'd steer you elsewhere. I go into the step-by-step setup in more detail in how to set up a two-zone fire with the Slow 'N Sear, and if that process sounds like more than you want to deal with on a regular basis, this isn't the right accessory for your kettle. You can also read about the exact night that pushed me toward buying it in the story behind why I bought a charcoal basket insert in the first place, which is a fair test of whether the problem it solves sounds like your problem too.
Still Think It's Right for You? Here's Where to Check Current Stock.
Once you're past the first month, the Slow 'N Sear earns its keep on a kettle grill. Check today's price on Amazon and see if it fits your kettle before your next low and slow cook.
Amazon Check Today's Price on Amazon →